- Joined
- Dec 22, 2004
- Messages
- 1,713
Here are some pictures of my 75 gallon setup! I apologize for the poor quality on some of these, I'm using a borrowed camera.
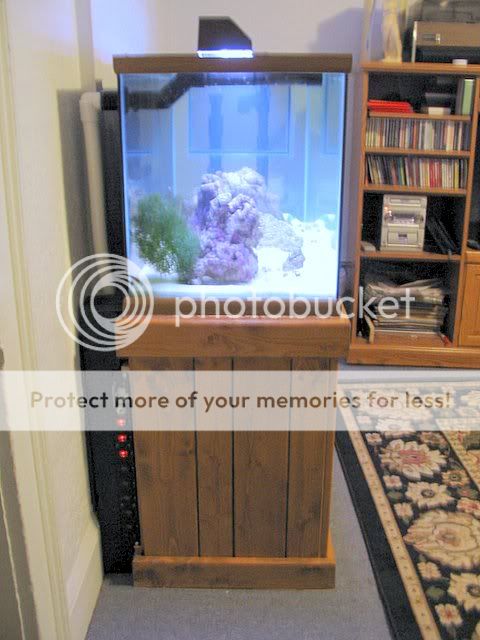
This is an overview of the display tank. You can see two important features here, the external overflow siliconed to the right side, and the spray bar in the upper left. These two modifications mean that there's no plumbing going between the tank and the lid.

Here's a side view showing the spray bar connected through a bulkhead to the flex return line. Two 45 degree elbows in the spray bar bring the openings higher than the bulkhead to minimize backflow when the pump stops. Also notice the DJ power strip. Right now three switches are illuminated: light, return pump and skimmer pump. Not lit are the auto-topoff and the auto-topoff relay. There are three plugs not currently used, one will soon be used for the refugium light (note the chaetomorphia is in the display right now).
Close up of the spray bar. All the black PVC in the pictures are painted with Krylon Fusion spray which is formulated to stick to plastic. I let it dry for a week and I'm not the first person to use it in a saltwater tank. I don't think its any more dangerous than the PVC cement is.
Note the fiberglass window screen wrapped around the spray bar and secured with zip-ties. Sometimes sand from the refugium will make its way up and get caught in the screen, requiring it to be cleaned.

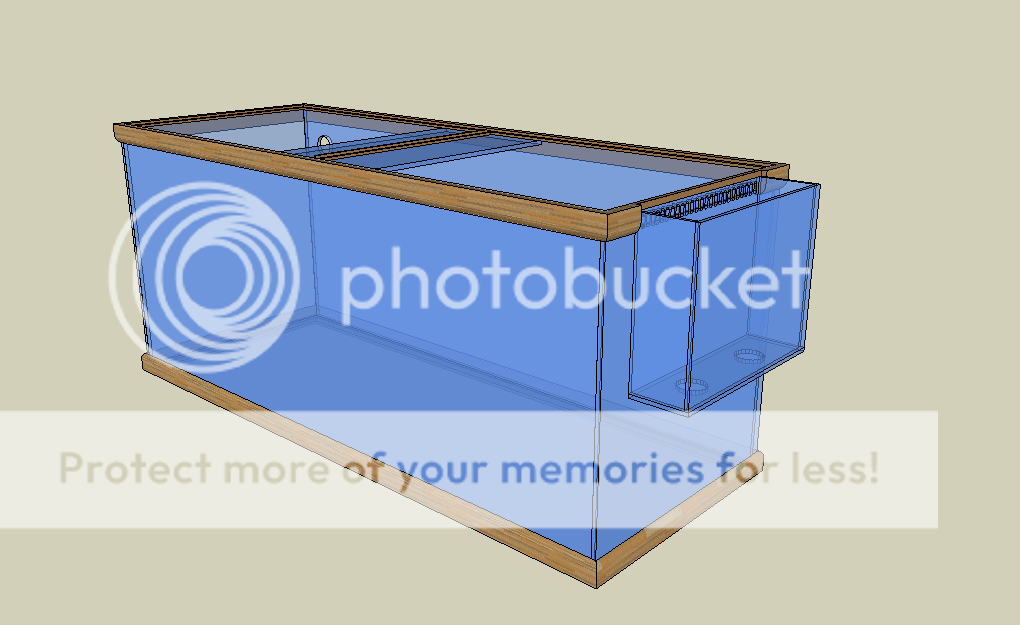
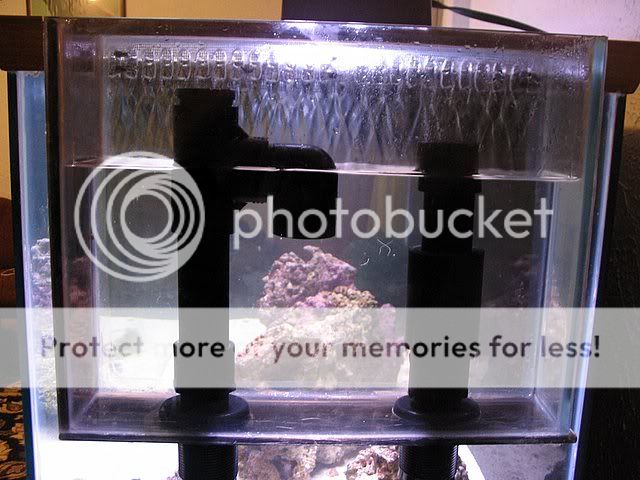
Now here's what all of you have been waiting for: the external overflow. There are 25 slots each approximately 1/4" x 3/4" spanning about 13" at the waterline. This involved about 8 1/2 hours with the Dremel and some upset neighbors. The box is 1/4" glass with two bulkheads in the bottom. In this first photo you can see the two standpipes that drain it: on the right is a modified Stockman (without an air vent) that takes most of the flow and goes through the biofilter. On the left is a modified Durso that handles a little bit of excess flow and is capable of handling all the flow in the event the primary drain is blocked. The Durso drains directly to the sump.
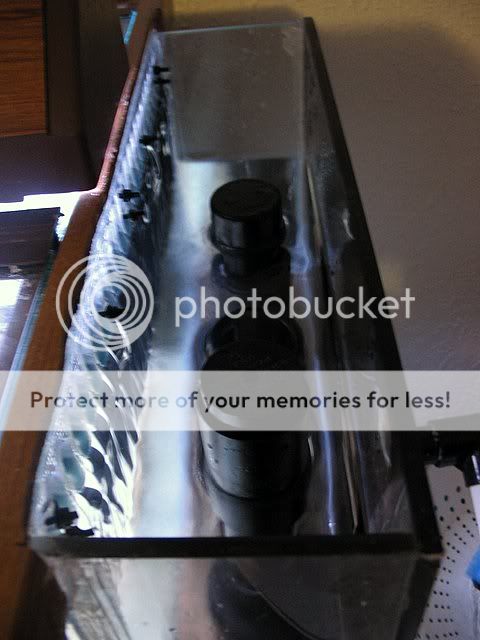
Here's a view from the top front. You can see water cascading down.
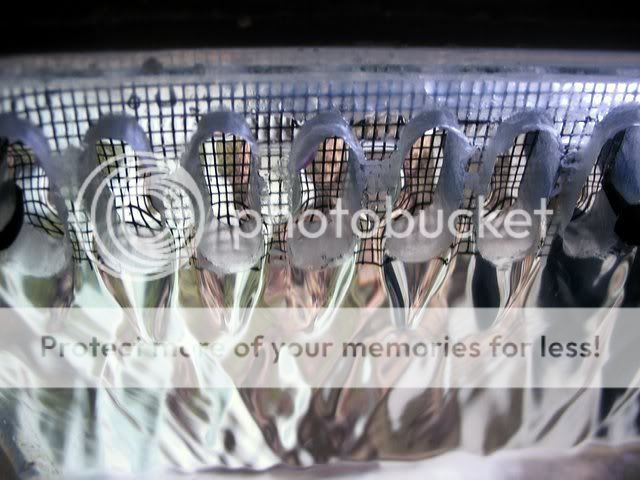
Here's a close-up of some slots. If we have any fluid dynamicists out there you know the Froude Number of the flow out of the slots.
Notice the window screen ziptied in place. A small and determined octopus would be able to get underneath it (I have a problem with Stomatella snails doing so) which I'll rectify by adding more zipties or a bead of silicone around the perimeter of the screen.
Here's the plumbing between the overflow and the biofilter. A piece of filter floss prevents most detritus (and Stomatella sp.) from making it into the bioballs. I change them weekly, and as you can see from the color its about due.
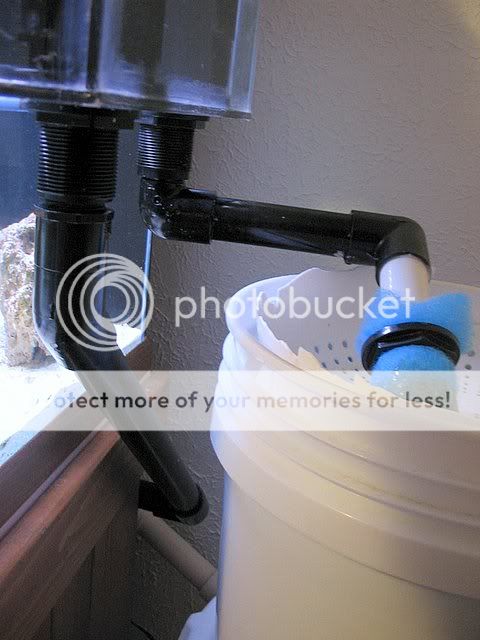
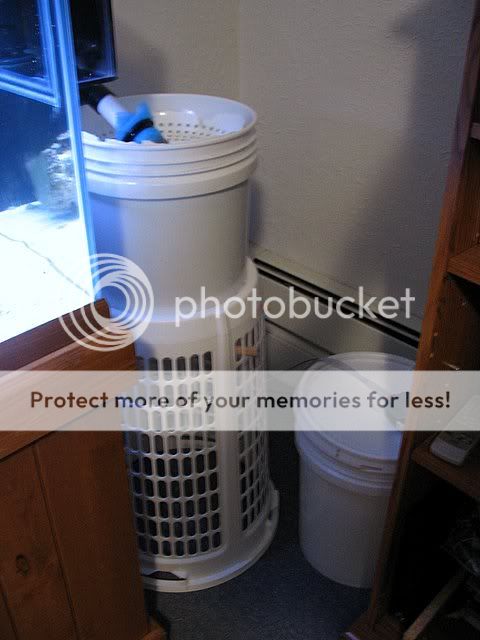
Here's the biofilter and the auto-topoff reservoir. The biofilter is drained by a bulkhead in its base. The auto-topoff is powered by a 3 gph Aqualifter pump. I wanted a pump slow enough to help mitigate an accident in case of a solenoid failure.
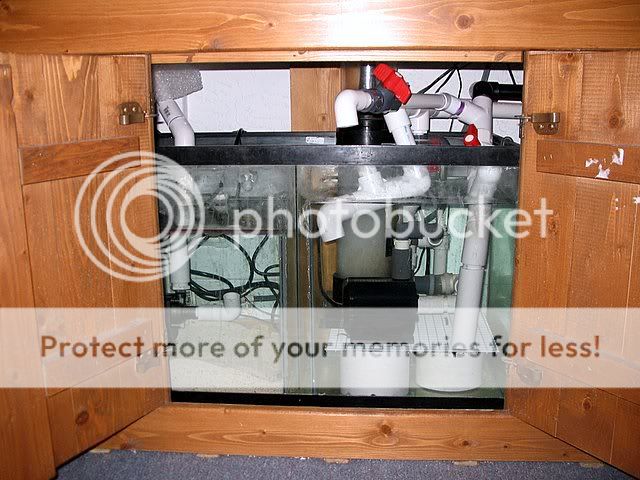
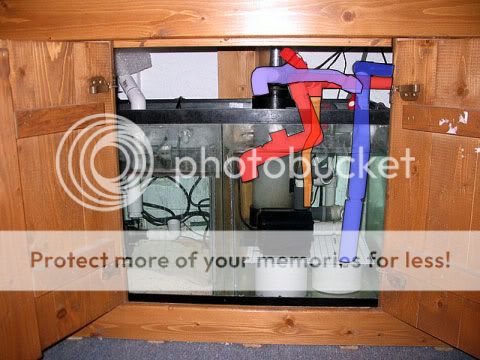
Here's what it looks like downstairs. What a mess. Sump chamber on the right, refugium on the left. The second figure should help elucidate some of the plumbing. The main line is the red one. Most of the flow goes through it and then the orange one into the skimmer. Excess goes directly into the sump. The blue line is the backup line from the Durso. The purple line is part of my water change system: I put a bucket in front of the sump, flip two ball valves and out comes water!
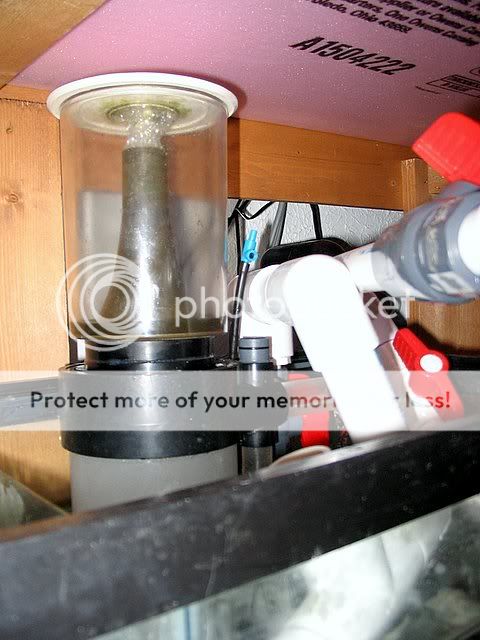
Obligatory skimmer photo. Turboflotor 1000 with an Ocean Runner pump. The skimmer/pump plumbing has been mod'ed to let them sit side by side because the OR2700 is so big.
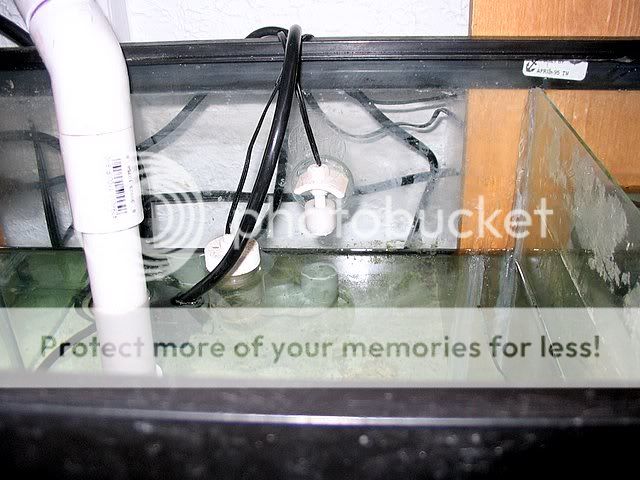
...and finally a view of the refugium chamber, including the two float-valves that control the auto-topoff solenoid. They're wired in series so the lower one is the workhorse and the upper one is a standby in case the lower one fails open. The lower one is in a tiny plastic jar with holes in it in a meek attempt to dissuade snails from climbing on it.
The pump is in this chamber and is currently a Mag-7. Note the replacement nylon screws
Despite all the crazy plumbing, the pump is by far with loudest part of the setup. It will soon be repaced by an Eheim so we can hear ourselves think.
Dan
This is an overview of the display tank. You can see two important features here, the external overflow siliconed to the right side, and the spray bar in the upper left. These two modifications mean that there's no plumbing going between the tank and the lid.

Here's a side view showing the spray bar connected through a bulkhead to the flex return line. Two 45 degree elbows in the spray bar bring the openings higher than the bulkhead to minimize backflow when the pump stops. Also notice the DJ power strip. Right now three switches are illuminated: light, return pump and skimmer pump. Not lit are the auto-topoff and the auto-topoff relay. There are three plugs not currently used, one will soon be used for the refugium light (note the chaetomorphia is in the display right now).

Close up of the spray bar. All the black PVC in the pictures are painted with Krylon Fusion spray which is formulated to stick to plastic. I let it dry for a week and I'm not the first person to use it in a saltwater tank. I don't think its any more dangerous than the PVC cement is.
Note the fiberglass window screen wrapped around the spray bar and secured with zip-ties. Sometimes sand from the refugium will make its way up and get caught in the screen, requiring it to be cleaned.

Now here's what all of you have been waiting for: the external overflow. There are 25 slots each approximately 1/4" x 3/4" spanning about 13" at the waterline. This involved about 8 1/2 hours with the Dremel and some upset neighbors. The box is 1/4" glass with two bulkheads in the bottom. In this first photo you can see the two standpipes that drain it: on the right is a modified Stockman (without an air vent) that takes most of the flow and goes through the biofilter. On the left is a modified Durso that handles a little bit of excess flow and is capable of handling all the flow in the event the primary drain is blocked. The Durso drains directly to the sump.

Here's a view from the top front. You can see water cascading down.

Here's a close-up of some slots. If we have any fluid dynamicists out there you know the Froude Number of the flow out of the slots.
Notice the window screen ziptied in place. A small and determined octopus would be able to get underneath it (I have a problem with Stomatella snails doing so) which I'll rectify by adding more zipties or a bead of silicone around the perimeter of the screen.

Here's the plumbing between the overflow and the biofilter. A piece of filter floss prevents most detritus (and Stomatella sp.) from making it into the bioballs. I change them weekly, and as you can see from the color its about due.

Here's the biofilter and the auto-topoff reservoir. The biofilter is drained by a bulkhead in its base. The auto-topoff is powered by a 3 gph Aqualifter pump. I wanted a pump slow enough to help mitigate an accident in case of a solenoid failure.

Here's what it looks like downstairs. What a mess. Sump chamber on the right, refugium on the left. The second figure should help elucidate some of the plumbing. The main line is the red one. Most of the flow goes through it and then the orange one into the skimmer. Excess goes directly into the sump. The blue line is the backup line from the Durso. The purple line is part of my water change system: I put a bucket in front of the sump, flip two ball valves and out comes water!


Obligatory skimmer photo. Turboflotor 1000 with an Ocean Runner pump. The skimmer/pump plumbing has been mod'ed to let them sit side by side because the OR2700 is so big.

...and finally a view of the refugium chamber, including the two float-valves that control the auto-topoff solenoid. They're wired in series so the lower one is the workhorse and the upper one is a standby in case the lower one fails open. The lower one is in a tiny plastic jar with holes in it in a meek attempt to dissuade snails from climbing on it.

The pump is in this chamber and is currently a Mag-7. Note the replacement nylon screws
Despite all the crazy plumbing, the pump is by far with loudest part of the setup. It will soon be repaced by an Eheim so we can hear ourselves think.
Dan


